License : Creative Commons Attribution 4.0 International (CC BY-NC-SA 4.0)
Copyright :
Hervé Frezza-Buet,
CentraleSupelec
Last modified : February 15, 2024 11:13
Link to the source : index.md
Vector Quantization lecture materials
Installation
The demos are based on several home-made codes. You need to install them from github.
OpenCv
mylogin@mymachine:~$ sudo apt install libopencv-dev
You have to be aware of which opencv version you have. Type
mylogin@mymachine:~$ pkg-config --list-all | grep opencv
You get opencv4 if you have opencv4, and opencv otherwise. Keep that in mind for the incoming installations.
demo2d
You will need the demo2d package, from here. We provide you with a sequence of instructions for the whole installation on Ubuntu, but you can easily think about each line and adapt to your environment, rather than only copy-pasting the lines.
mylogin@mymachine:~$ git clone https://github.com/HerveFrezza-Buet/demo2d
mylogin@mymachine:~$ cd demo2d
mylogin@mymachine:~$ mkdir build; cd build
At this stage, if you have not opencv4, run the following to make a regression of the sources to opencv3. Othewise, ignore and skip to next stage.
mylogin@mymachine:~$ git checkout opencv3
Now, this should compile according to your actual opencv version.
mylogin@mymachine:~$ cmake .. -DCMAKE_INSTALL_PREFIX=/usr
mylogin@mymachine:~$ make -j4
mylogin@mymachine:~$ sudo make install
mylogin@mymachine:~$ cd ../..
vq3 and vq3demo
The git repository for vq3 is here.
mylogin@mymachine:~$ git clone https://github.com/HerveFrezza-Buet/vq3
mylogin@mymachine:~$ cd vq3
vq3
There is a subdirectory vq3 in this vq3 directory, so we have to cd vq3 again.
mylogin@mymachine:~$ cd vq3
mylogin@mymachine:~$ mkdir build; cd build
mylogin@mymachine:~$ cmake .. -DCMAKE_INSTALL_PREFIX=/usr
mylogin@mymachine:~$ make -j4
mylogin@mymachine:~$ sudo make install
mylogin@mymachine:~$ cd ../..
vq3demo
There is a subdirectory vq3demo in this vq3 directory.
mylogin@mymachine:~$ cd vq3demo
mylogin@mymachine:~$ mkdir build; cd build
As for demo2d, if you have an older version of opencv
mylogin@mymachine:~$ git checkout opencv3
Then, compile.
mylogin@mymachine:~$ cmake .. -DCMAKE_INSTALL_PREFIX=/usr
mylogin@mymachine:~$ make -j4
mylogin@mymachine:~$ sudo make install
mylogin@mymachine:~$ cd ../..
demomapping
This is the demo software with 3D point clouds. The git repository is here.
Clone it,
mylogin@mymachine:~$ git clone https://github.com/HerveFrezza-Buet/demomapping
mylogin@mymachine:~$ cd demomapping
It provides you with a set of .tar.gz code archives. As the README.md suggests, install first standard package that are required. On Ubuntu, type
mylogin@mymachine:~$ sudo apt install libgl1-mesa-dev libgl1-mesa-dev libglu1-mesa libglu1-mesa-dev libgtk2.0-0 libgtk2.0-dev libgtkglext1 libgtkglext1-dev
Then let us install glop.
mylogin@mymachine:~$ tar zxvf glop-1.09.tar.gz; cd glop-1.09/build
mylogin@mymachine:~$ cmake .. -DCMAKE_INSTALL_PREFIX=/usr
mylogin@mymachine:~$ make -j4; sudo make install
mylogin@mymachine:~$ cd ../..
Then, do the same for other packages, in the following order: glop-gtk, mapdist, vq2, demomapping.
Running the demos
demo-mapping
Just launch
mylogin@mymachine:~$ demomapping_demo
The demos from vq3
Many of the vq3-example-* exacutables can be considered as a demo. During the lecture, the following ones are invoked.
Lloyd iteration
mylogin@mymachine:~$ vq3demo-example-003-003-wta uniform rectangle 4
mylogin@mymachine:~$ vq3demo-example-003-003-wta uniform multidim 4
mylogin@mymachine:~$ vq3demo-example-003-003-wta unbalanced multidim 4
mylogin@mymachine:~$ vq3demo-example-003-003-wta uniform multidensity 4
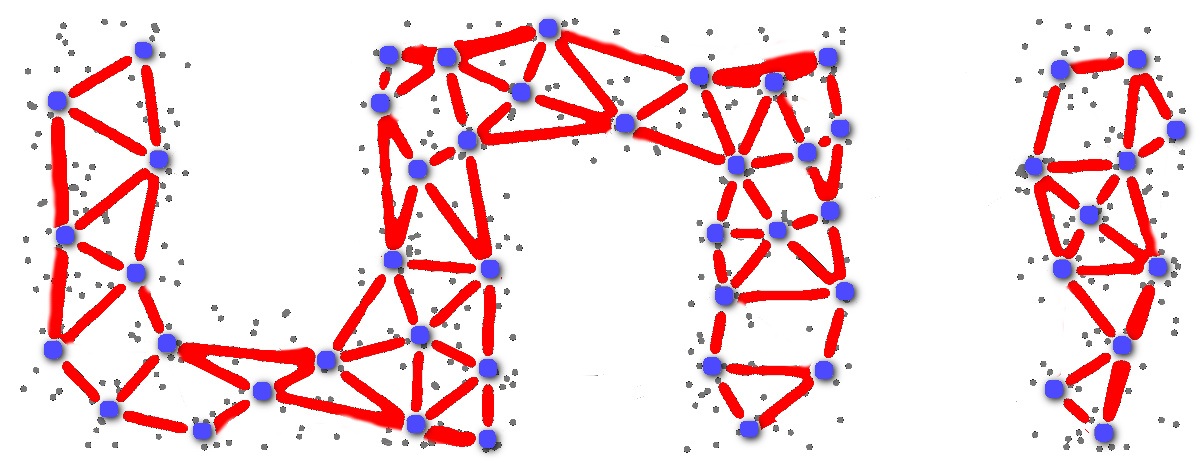
Competitive Hebbian Learning
mylogin@mymachine:~$ vq3demo-example-003-001-chl 4
Linde-Buzo-Gray
mylogin@mymachine:~$ vq3demo-example-003-004-lbg 4 20
mylogin@mymachine:~$ vq3demo-example-003-004-lbg 4 500
Self-Organizing Maps
mylogin@mymachine:~$ vq3demo-example-004-002-som 4 20000
mylogin@mymachine:~$ vq3demo-example-004-003-som 4 20000
Speeds
mylogin@mymachine:~$ vq3demo-example-000-002-savitzky-golay
mylogin@mymachine:~$ vq3demo-example-006-001-temporal
GNG-T
mylogin@mymachine:~$ vq3demo-example-005-001-gngt
mylogin@mymachine:~$ vq3demo-example-006-002-speed
mylogin@mymachine:~$ vq3demo-example-006-003-speed
Applications
See here.